Be.Smart Site Management
  • â„šī¸What is Be.Smart Site Management?
  • âš™ī¸Requirements
  • 💾Supported file formats
  • 🆕What's new ?
    • Q1/2023 Release
    • Q2/2023 Release
    • Q3/2023 Release
    • Q1/2024 Release
  • Getting started
    • Project set up in Trimble Connect
      • Create a project to Trimble Connect
        • Create a blank project (Trimble Connect)
        • Create a project based on template
      • User management in Trimble Connect environment
      • Project settings in Trimble Connect
    • Project set up in Autodesk Construction Cloud
      • Create a project to ACC
        • Create a blank project (ACC)
      • User management in ACC environment
    • Project set up in Site Management
      • Site Management - Project configuration
        • Coordinate reference system
        • Project location
        • Toggles
        • Coordinate formatting
        • AIS marine traffic
        • Application background maps
        • Background maps
        • Overlay maps
        • Default background map
        • Default models
        • Project links
        • Connections
        • Permissions and Metadata
      • Settings for Site Management
  • Site Management
    • Project interface
      • Toolbar
      • Project tree
      • Map interface
    • 📐Measurement tool
    • 📈Elevation tool
    • âœ‚ī¸Section tool
      • How to create a section
      • Measurements in sections
      • Breaklines in section
      • Print tool in a section
    • đŸ–¨ī¸Print tool
      • Print tool options
    • 📏Inspect breaklines
    • âœī¸Markings
      • Creating a marking
      • Editing a marking
      • Inspect markings
      • Filtering markings
      • Use-cases for markings
    • 📸Presets
      • Creating a preset
      • Open a preset
    • đŸ—ēī¸Map layers
    • đŸŽĨ3D viewers
  • Integrations and extensions
    • GeoView -integration
    • Pointscene -integration
      • Define the calculation type
      • Select the point cloud
      • Select the LandXML -file
      • Defining the boundary
      • Visualization
      • Results
    • Utilization -extension
      • Utilization report
    • Machine Control -extension
      • Novatron/MOBA Xsite Manage
      • Topcon Sitelink 3D v2
Powered by GitBook
On this page
  1. Getting started
  2. Project set up in Trimble Connect

User management in Trimble Connect environment

PreviousCreate a project based on templateNextProject settings in Trimble Connect

User management for Site Management is done in Trimble Connect for Browser. Access the user management from Team -tab. There are two types of users; user and admin. Possible restrictions do not apply on admin – the role can access all the data in the project.

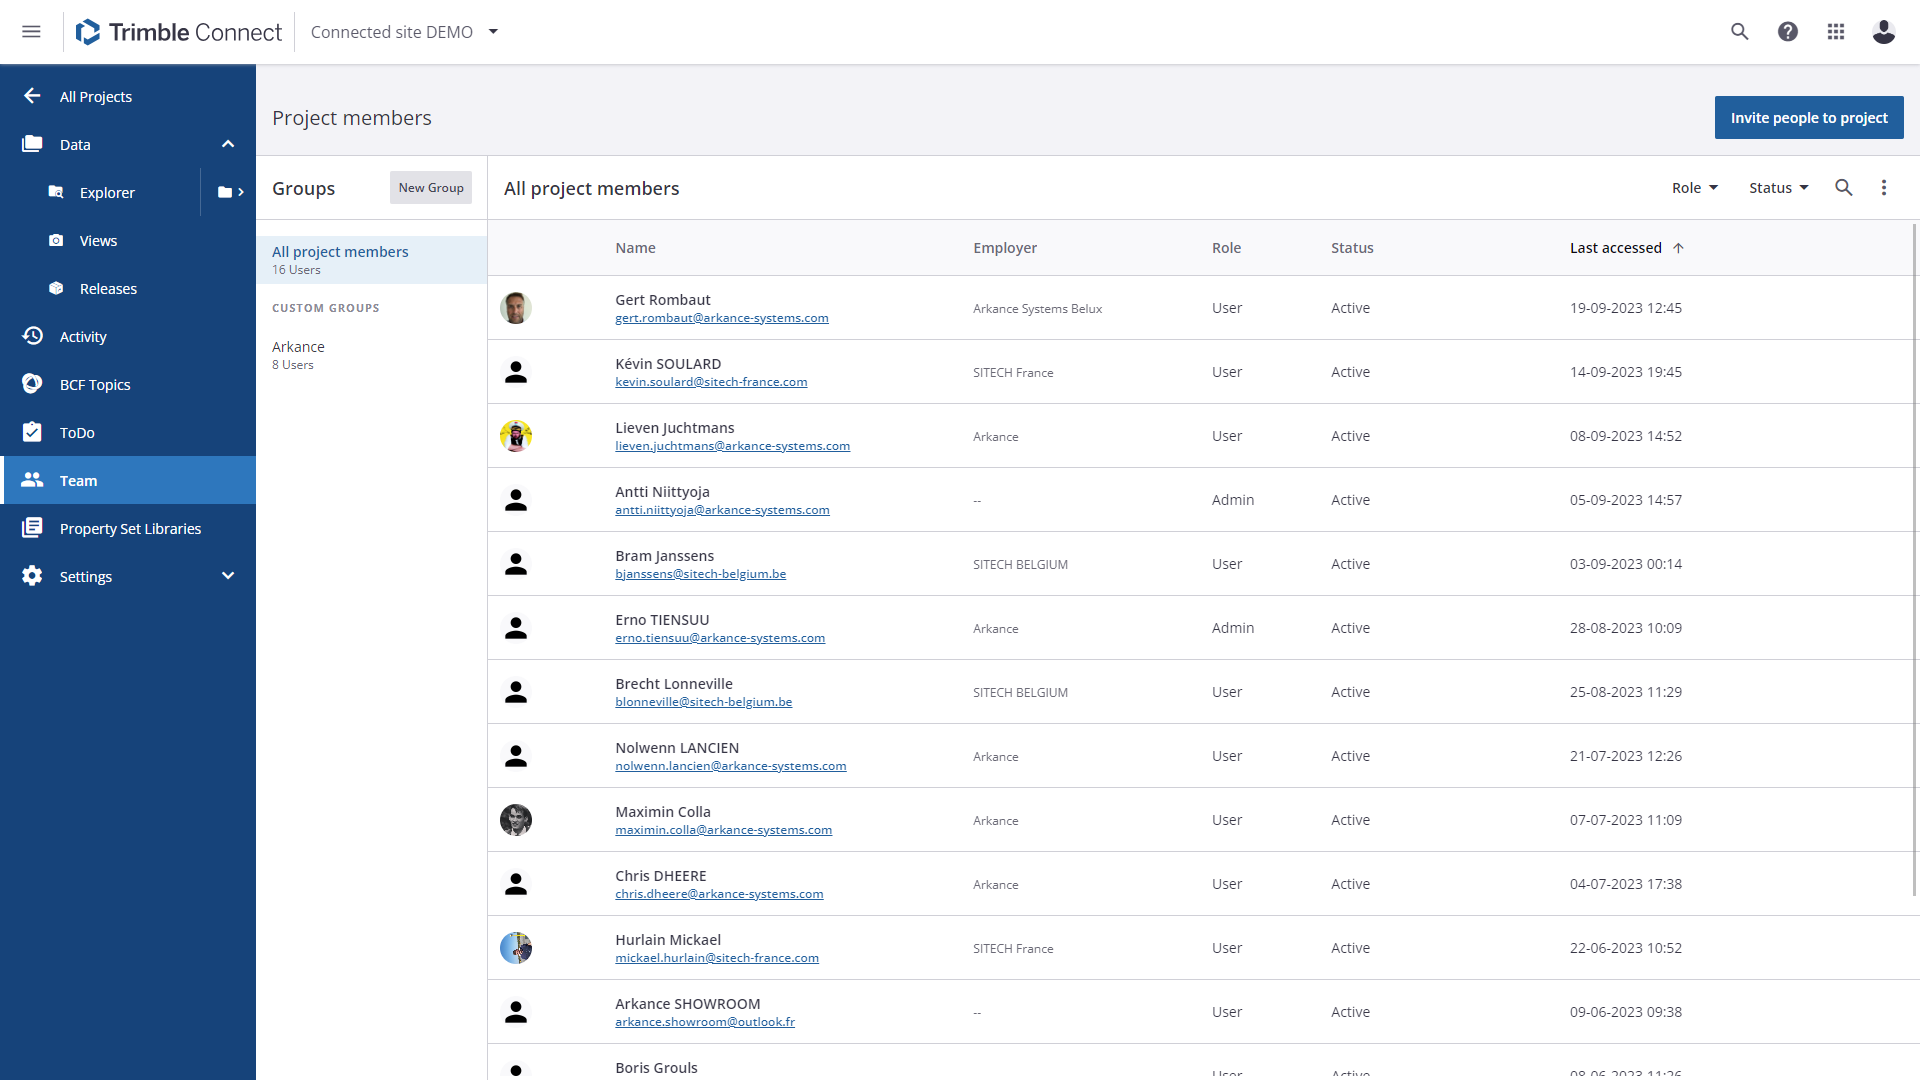
Team -tab allows admins (and users as well depending on settings) to create new groups and invite new users to the project. Click Invite people to project and type their Trimble ID to send the invite. Simultaneously user can be added to an existing group and the role can be defined to User or Admin. People can be invited to the project with Excel sheet if preferred.

Removing user

User can be removed from the project by selecting them and clicking Remove from project. Users removed from the project are still listed in the Team -tab, but their status is Removed. Meaning that they no longer have access to the project.

Once you are all set up with the project in Trimble Connect, you may proceed directly to Project set up in Site Management -page:

Project set up in Site Management

Team -tab in Trimble Connect