Be.Smart Site Management
  • â„šī¸What is Be.Smart Site Management?
  • âš™ī¸Requirements
  • 💾Supported file formats
  • 🆕What's new ?
    • Q1/2023 Release
    • Q2/2023 Release
    • Q3/2023 Release
    • Q1/2024 Release
  • Getting started
    • Project set up in Trimble Connect
      • Create a project to Trimble Connect
        • Create a blank project (Trimble Connect)
        • Create a project based on template
      • User management in Trimble Connect environment
      • Project settings in Trimble Connect
    • Project set up in Autodesk Construction Cloud
      • Create a project to ACC
        • Create a blank project (ACC)
      • User management in ACC environment
    • Project set up in Site Management
      • Site Management - Project configuration
        • Coordinate reference system
        • Project location
        • Toggles
        • Coordinate formatting
        • AIS marine traffic
        • Application background maps
        • Background maps
        • Overlay maps
        • Default background map
        • Default models
        • Project links
        • Connections
        • Permissions and Metadata
      • Settings for Site Management
  • Site Management
    • Project interface
      • Toolbar
      • Project tree
      • Map interface
    • 📐Measurement tool
    • 📈Elevation tool
    • âœ‚ī¸Section tool
      • How to create a section
      • Measurements in sections
      • Breaklines in section
      • Print tool in a section
    • đŸ–¨ī¸Print tool
      • Print tool options
    • 📏Inspect breaklines
    • âœī¸Markings
      • Creating a marking
      • Editing a marking
      • Inspect markings
      • Filtering markings
      • Use-cases for markings
    • 📸Presets
      • Creating a preset
      • Open a preset
    • đŸ—ēī¸Map layers
    • đŸŽĨ3D viewers
  • Integrations and extensions
    • GeoView -integration
    • Pointscene -integration
      • Define the calculation type
      • Select the point cloud
      • Select the LandXML -file
      • Defining the boundary
      • Visualization
      • Results
    • Utilization -extension
      • Utilization report
    • Machine Control -extension
      • Novatron/MOBA Xsite Manage
      • Topcon Sitelink 3D v2
Powered by GitBook
On this page
  1. Getting started
  2. Project set up in Autodesk Construction Cloud

User management in ACC environment

PreviousCreate a blank project (ACC)NextProject set up in Site Management

User management, or members as it is defined in ACC, can be done under the project Docs -menu. Members -page allows admins to add more users to the project.

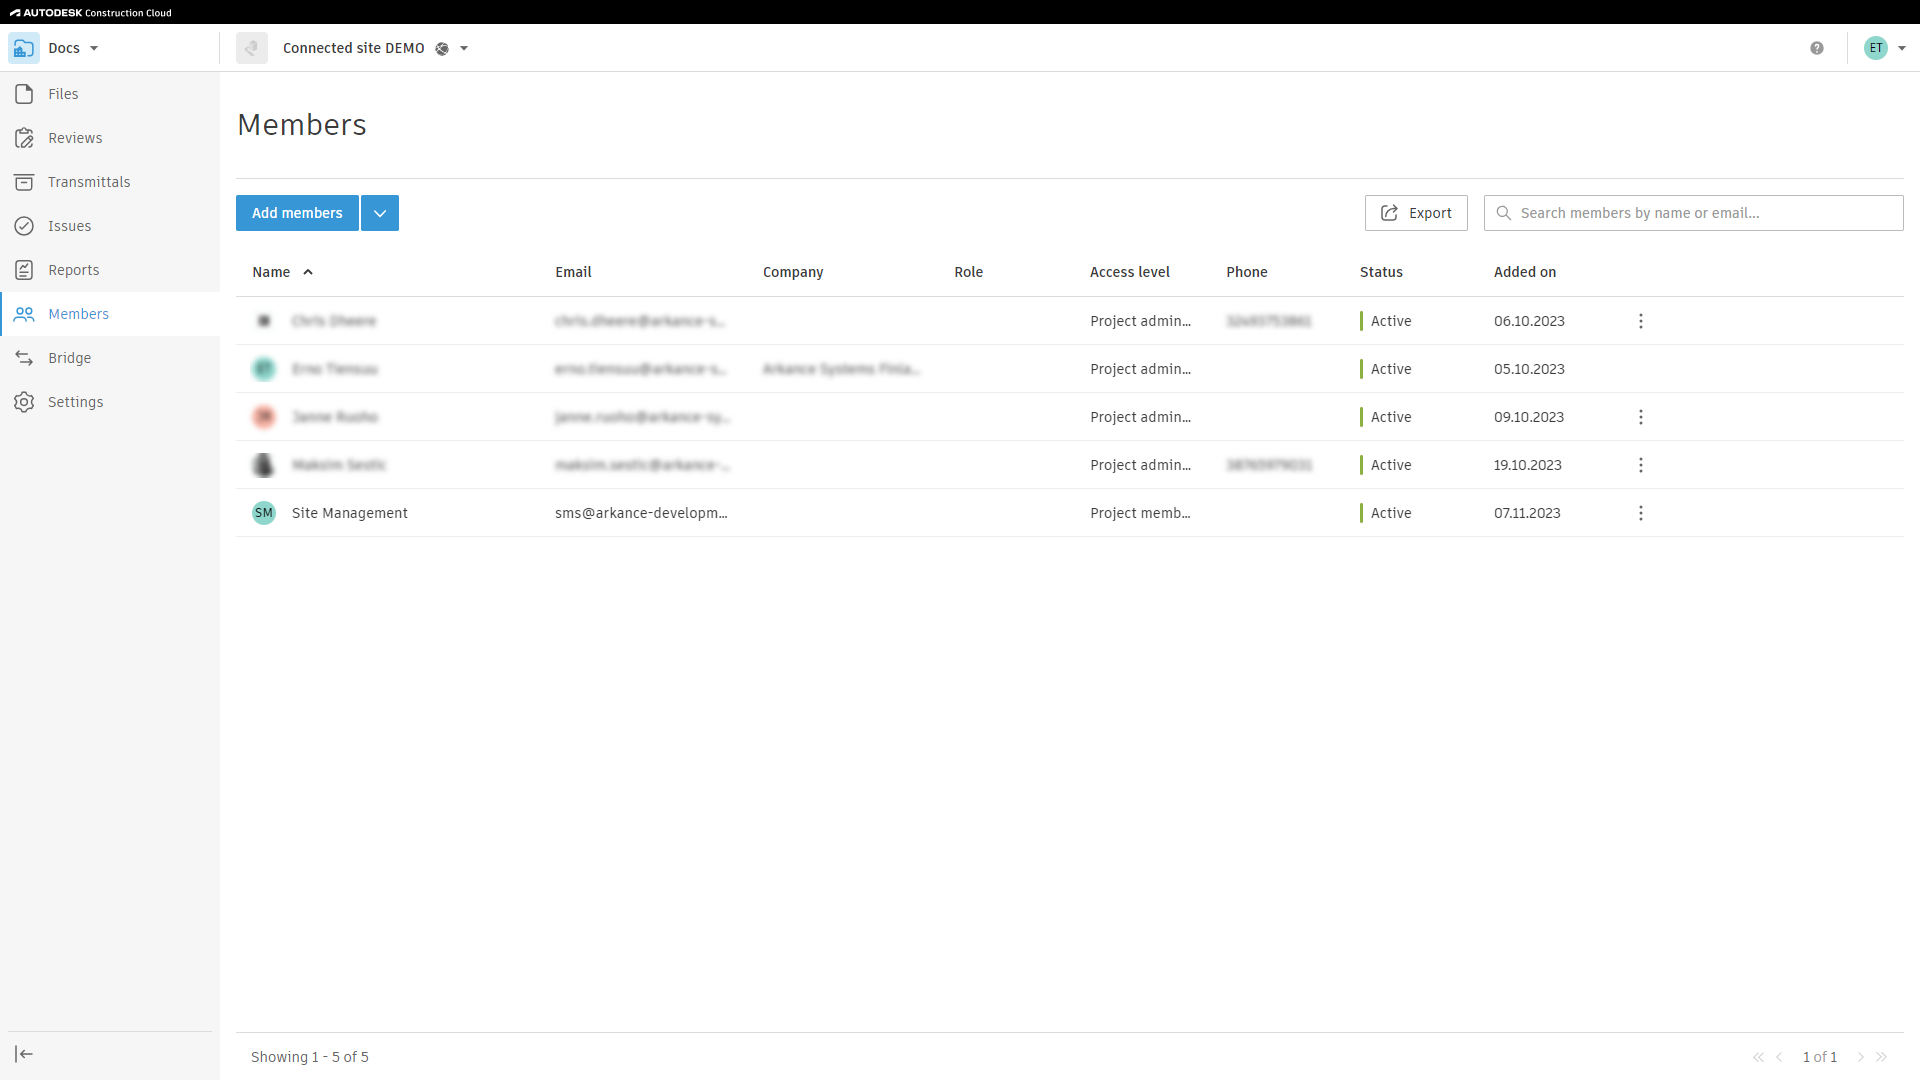
Next step is to click Add members, which opens a new page. In this page, add the email addresses of the users who need to be invited to the project.

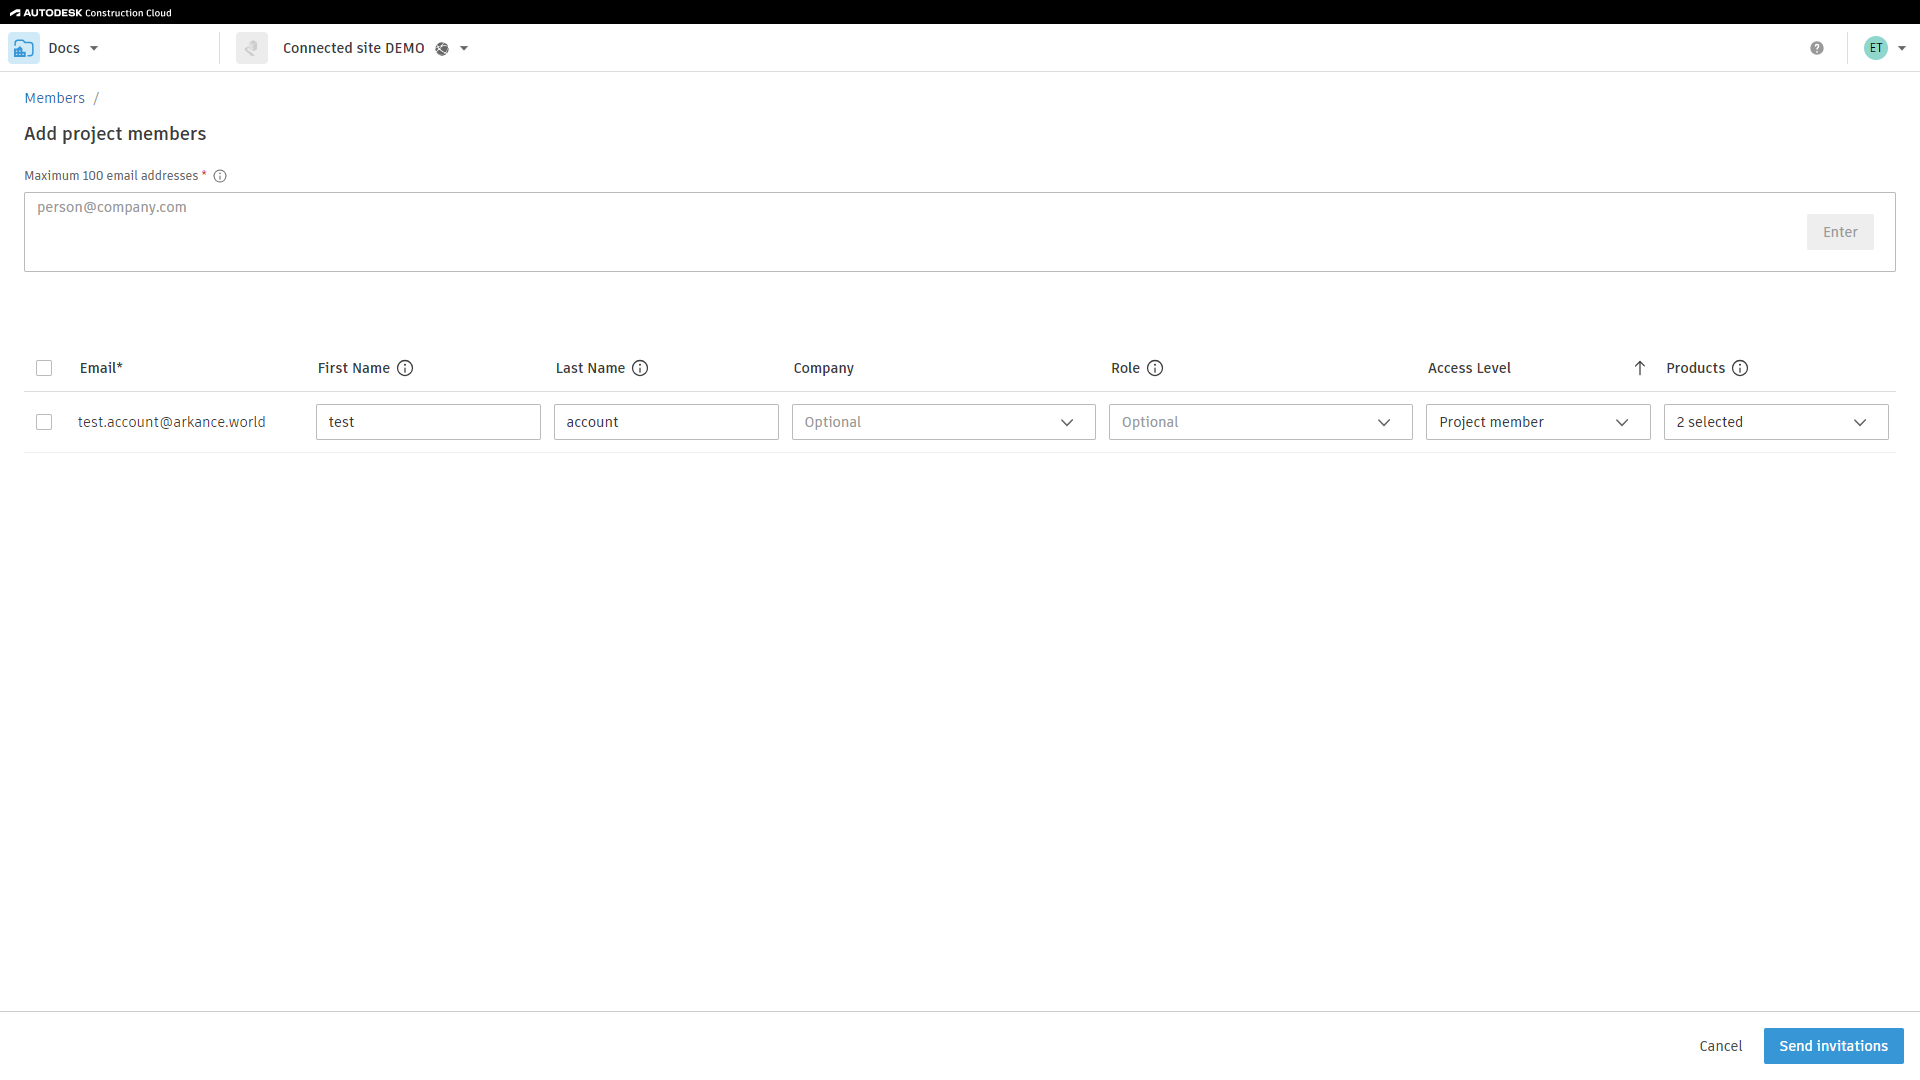
Once all the needed email addresses are added, proceed by clicking Enter. This will list all of the project members and allows to fill the details for them. The main items are Role, Access level and Products.

Predefining the roles in Account Admin eases the onboarding process and speeds up the project set up. More information about the roles and how to manage those, can be found here:

Please consider, what type access each user needs. If there are multiple stakeholders involved, everyone might not need an access to all of the files and folders.

Once everything is set up for the invitation, proceed by clicking Send invitations on the bottom right corner of the page.

https://help.autodesk.com/view/DOCS/ENU/?guid=Account_Admin_Roles
Members -page in ACC
Add project members -page.