Be.Smart Site Management
  • â„šī¸What is Be.Smart Site Management?
  • âš™ī¸Requirements
  • 💾Supported file formats
  • 🆕What's new ?
    • Q1/2023 Release
    • Q2/2023 Release
    • Q3/2023 Release
    • Q1/2024 Release
  • Getting started
    • Project set up in Trimble Connect
      • Create a project to Trimble Connect
        • Create a blank project (Trimble Connect)
        • Create a project based on template
      • User management in Trimble Connect environment
      • Project settings in Trimble Connect
    • Project set up in Autodesk Construction Cloud
      • Create a project to ACC
        • Create a blank project (ACC)
      • User management in ACC environment
    • Project set up in Site Management
      • Site Management - Project configuration
        • Coordinate reference system
        • Project location
        • Toggles
        • Coordinate formatting
        • AIS marine traffic
        • Application background maps
        • Background maps
        • Overlay maps
        • Default background map
        • Default models
        • Project links
        • Connections
        • Permissions and Metadata
      • Settings for Site Management
  • Site Management
    • Project interface
      • Toolbar
      • Project tree
      • Map interface
    • 📐Measurement tool
    • 📈Elevation tool
    • âœ‚ī¸Section tool
      • How to create a section
      • Measurements in sections
      • Breaklines in section
      • Print tool in a section
    • đŸ–¨ī¸Print tool
      • Print tool options
    • 📏Inspect breaklines
    • âœī¸Markings
      • Creating a marking
      • Editing a marking
      • Inspect markings
      • Filtering markings
      • Use-cases for markings
    • 📸Presets
      • Creating a preset
      • Open a preset
    • đŸ—ēī¸Map layers
    • đŸŽĨ3D viewers
  • Integrations and extensions
    • GeoView -integration
    • Pointscene -integration
      • Define the calculation type
      • Select the point cloud
      • Select the LandXML -file
      • Defining the boundary
      • Visualization
      • Results
    • Utilization -extension
      • Utilization report
    • Machine Control -extension
      • Novatron/MOBA Xsite Manage
      • Topcon Sitelink 3D v2
Powered by GitBook
On this page
  • Sign in
  • Main menu and filters
  • Images
  1. Integrations and extensions

GeoView -integration

More information about GeoView can be found on the web page: http://geoview.be/

PreviousIntegrations and extensionsNextPointscene -integration

GeoView is a solution which allows its users to collect images and store these on a server. The image metadata contains detailed information about the image, such as location and azimuth.

The GeoView -integration in Site Management enables to view the collected images in Site Management map interface. Combine the design or as-built models with up-to-date images from the site.

Using the GeoView -integration requires an active GeoView subscription.

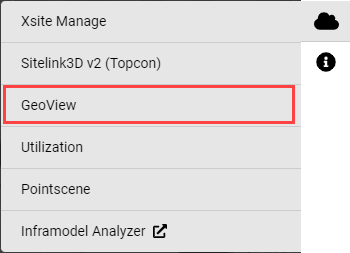
Start the GeoView -integration by clicking "GeoView" from the Integrations -menu

Sign in

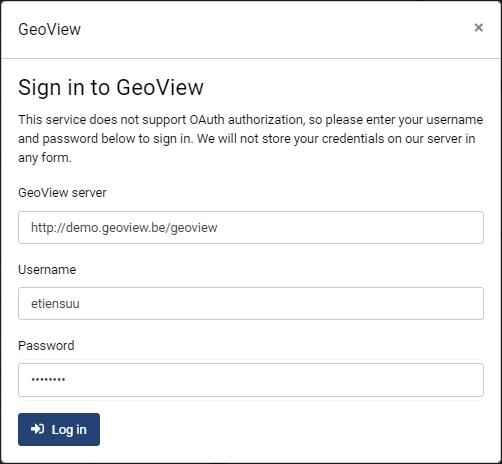
Begin the sign in by copying and pasting the URL of the GeoView server to the respective field. Continue by adding your own credentials to the dialog and click "Log in" to proceed.

Main menu and filters

After a successful log in the main menu and filters -dialog opens.

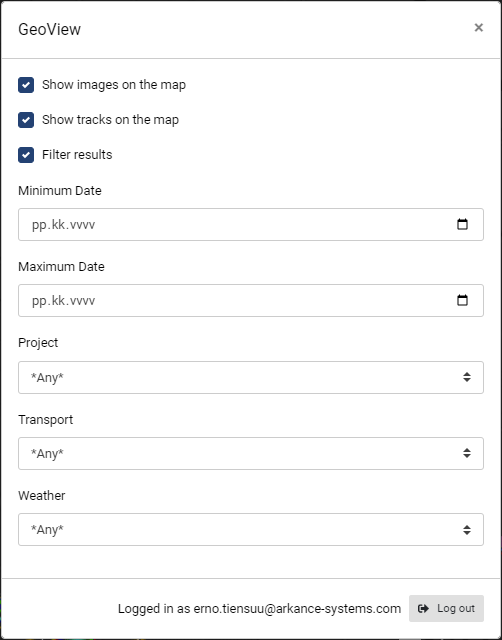
The first two check-boxes define whether images and tracks are shown on the map.

The third check-box, Filter results, defines specific filter allowing to view only images for example from specific dates.

If there is no need for filters, leave the check box empty.

Images

If the "Show images on the map" -check box is active, the images from GeoView server can be viewed in the map interface. The Main menu and filters -dialog may be closed.

The images are displayed as a camera -icon on the location that is in the metadata of the file.

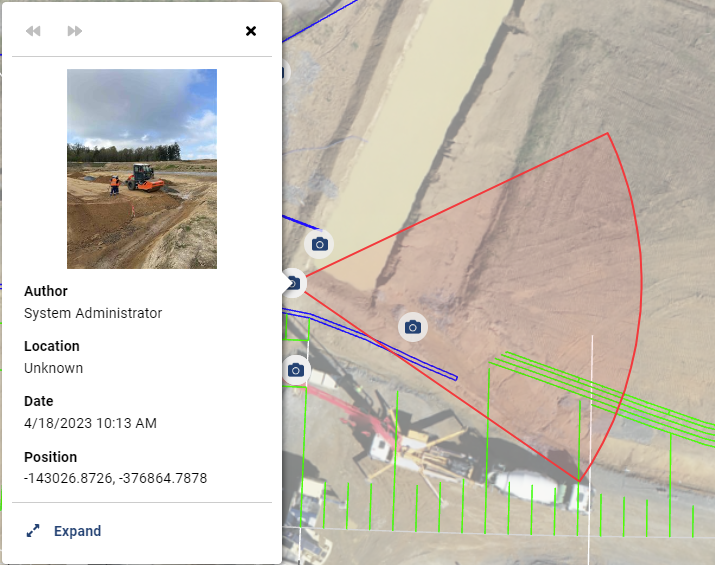
Images can be selected by clicking left mouse button on top of the icon. Selecting an image opens a preview of the image, its metadata and the red viewing cone on the map. To view a bigger image and complete metadata, click Expand and a new dialog opens.

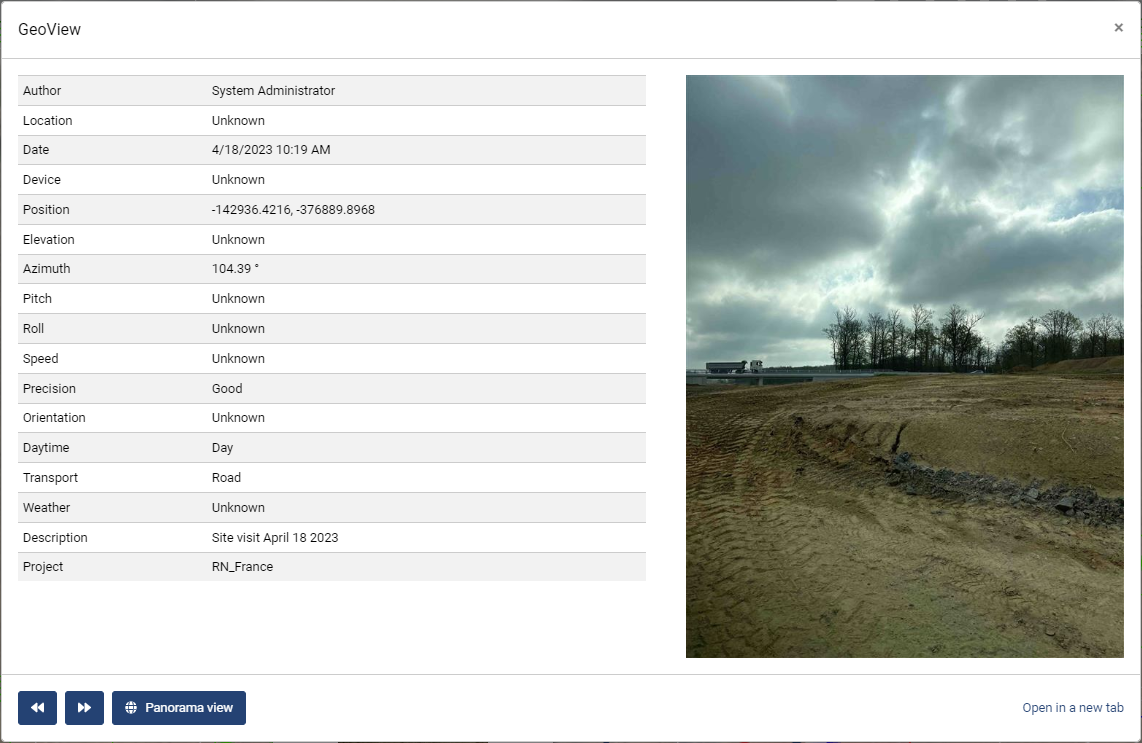
The dialog that opens contains more metadata about the image and bigger picture. There are three things that can be done in this menu. First if the image is part of a track, rewind and fast forward -buttons allows to move to the next or previous image of the track.

Panorama view opens a separate viewer for 360 imagery.

Open in a new tab on the right bottom corner opens the selected image in real size.

Integrations -menu
Sign in -dialog
Main menu and filters -dialog
Image preview and viewing cone
Detail information about the image